


Hey there! I'm from a CNC cutter supplier, and today I wanna walk you through the installation process of a CNC cutter. Whether you're a newbie in the manufacturing world or just looking to expand your workshop with a new piece of equipment, this guide should help you out.
Pre - installation Preparations
Before you even start unpacking the CNC cutter, there are a few things you need to take care of. First off, you gotta find a suitable location for it. The area should be flat and level. A wobbly surface can mess with the cutter's accuracy and even lead to premature wear and tear. You don't want that, right?
The location also needs to have proper ventilation. CNC cutters generate heat during operation, and without good airflow, the internal components can overheat. This can cause malfunctions and reduce the lifespan of the machine.
Next, check the power supply. Make sure the voltage and frequency match what the CNC cutter requires. You can find this information in the user manual. Using the wrong power supply can fry the electronics in the machine, and that's a costly mistake.
Unpacking the CNC Cutter
Once you've got the perfect spot and the right power supply sorted, it's time to unpack the machine. Be careful when opening the packaging. The CNC cutter is a precision piece of equipment, and rough handling can damage it.
Take out all the components and check them against the packing list. Look for any signs of damage during transit, like dents, scratches, or loose parts. If you find anything wrong, contact the shipping company and us right away. We'll work with you to sort out the issue.
Assembling the Machine
Now comes the fun part - assembling the CNC cutter. Most CNC cutters come with detailed assembly instructions, but I'll give you a general overview.
Start by attaching the base to the frame. This is usually a straightforward process, but make sure all the bolts are tightened properly. Loose bolts can cause vibrations during operation, which affects the cutting quality.
Next, install the cutting head. This is the part that does the actual cutting, so it's crucial to get it right. Align it according to the instructions and make sure it moves smoothly along the axes.
After that, connect the motors and the control system. The motors are what drive the movement of the cutting head, and the control system is what tells the machine what to do. Follow the wiring diagrams carefully to avoid short - circuits.
Connecting the Peripherals
Once the main machine is assembled, you need to connect the peripherals. This includes things like the computer, the monitor, and the input devices.
Connect the CNC cutter to the computer using the appropriate cables. The software on the computer is what allows you to program the cutting paths and control the machine. Make sure the software is installed correctly and that the computer meets the system requirements.
You'll also need to connect any additional accessories, like dust collectors or coolant systems. These help keep the work area clean and the cutting tools cool, respectively.
Calibration
After everything is connected, it's time to calibrate the CNC cutter. Calibration is the process of making sure the machine is accurate and cuts precisely where it's supposed to.
Start by calibrating the axes. This involves moving the cutting head along each axis and measuring the distance it travels. Adjust the settings if the measurements are off.
Next, calibrate the cutting depth. You can do this by making a test cut on a scrap piece of material and measuring the depth. Adjust the settings until you get the desired depth.
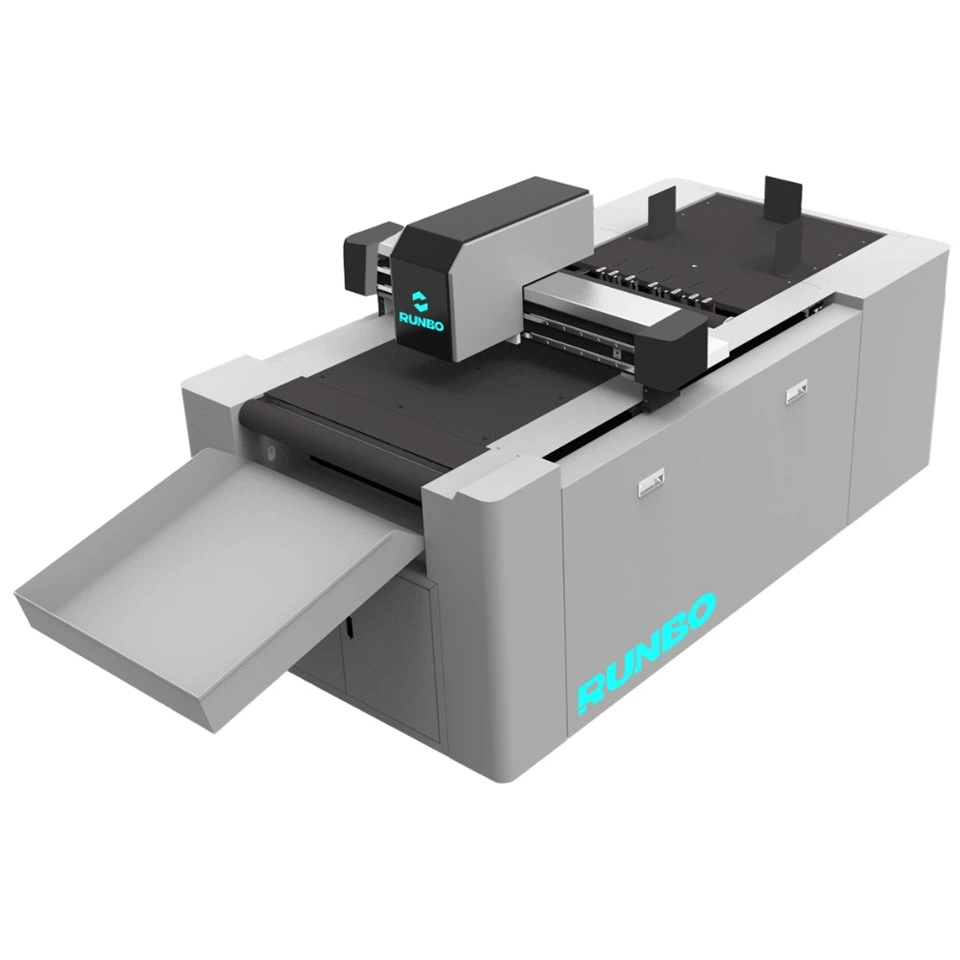

Testing the Machine
Once the calibration is done, it's time to test the machine. Start with a simple test cut on a scrap piece of material. This could be a straight line or a basic shape.
Watch the machine closely as it cuts. Listen for any strange noises or vibrations. Check the quality of the cut. If there are any issues, like rough edges or inaccurate cuts, go back and adjust the settings or check for any loose parts.
If the test cut goes well, you can try more complex cuts. This will give you a better idea of how the machine performs under different conditions.
Training and Support
Even after the machine is installed and working properly, you might need some training on how to use it effectively. We offer training services to help you and your team get up to speed with the CNC cutter.
Our support team is also available 24/7 to answer any questions you might have. Whether it's a technical issue or a question about programming, we're here to help.
Our Product Range
We have a wide range of CNC cutters to suit different needs. For example, if you're in the advertising industry, our Advertising Materials Cutting Machine – Economy Model is a great option. It's cost - effective and can handle various advertising materials.
If you're into bag and luggage manufacturing, our Bag Luggage Sample Cutting Machine is designed to cut samples with high precision.
And for advertising graphics, our Advertising Graphics Cutting Machine can produce sharp and accurate cuts.
Contact Us for Purchase
If you're interested in any of our CNC cutters or have questions about the installation process, don't hesitate to get in touch with us. We're here to help you find the right machine for your business and support you throughout the installation and beyond.
References
- Manufacturer's manual for the CNC cutter
- Industry best practices for CNC cutter installation
So, that's the installation process of a CNC cutter in a nutshell. I hope this guide has been helpful to you. If you have any more questions, feel free to reach out.


